CVS Installation
Download the latest version of CVSNT (look for free version) and install it. Use typical
settings. Restart PC.
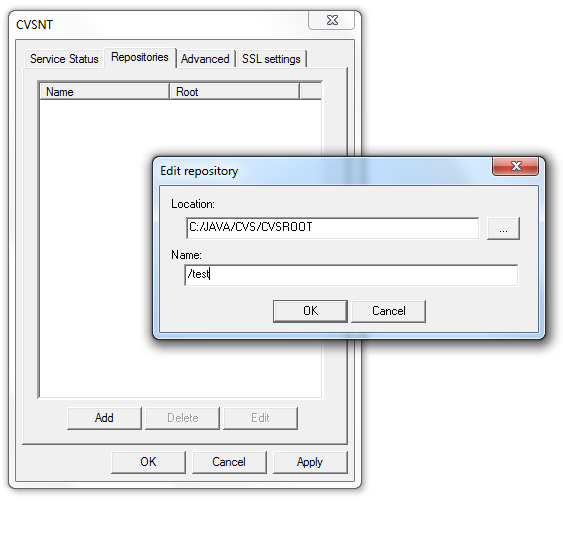
Add Repository
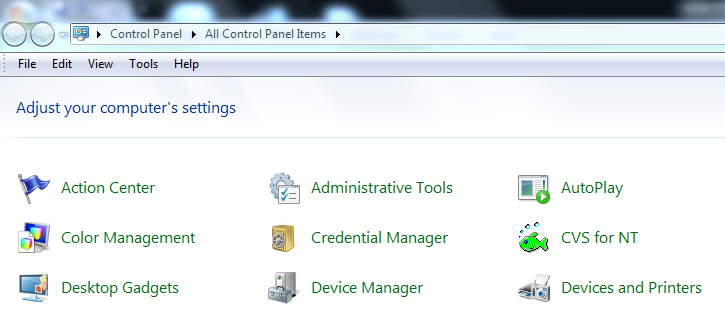
Open up "CVSNT Server" in control panel.
Next, go to "Advanced" tab. Change the "Temporary Directory" to somewhere better.
Add User
Set environment with the following command:
set cvsroot=:pserver:localhost:{repository name}
e.g. set cvsroot=:pserver:localhost:/test
cvs passwd -r {Windows account name} -a {user name}
e.g. cvs passwd -r Administrator -a englee
Enter password(Account Password- sometimes password is mandatory) as requested.
Test Login
Enter the following commands:
set cvsroot=: pserver:localhost:{repository name}
cvs login
cvs ls -l -R
If you see a list after you entered the last command, you have got your CVSNT setup correctly.
Add Repository
Open up "CVSNT Server" in control panel.
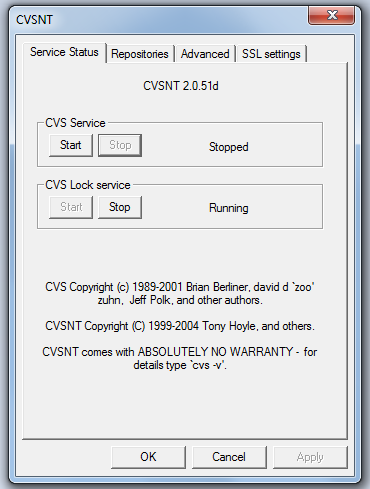
Next, go to "Advanced" tab. Change the "Temporary Directory" to somewhere better.

Add User
Set environment with the following command:
set cvsroot=:pserver:localhost:{repository name}
e.g. set cvsroot=:pserver:localhost:/test

cvs passwd -r {Windows account name} -a {user name}
e.g. cvs passwd -r Administrator -a englee
Enter password(Account Password- sometimes password is mandatory) as requested.
Test Login
Enter the following commands:
set cvsroot=: pserver:localhost:{repository name}
cvs login
cvs ls -l -R
If you see a list after you entered the last command, you have got your CVSNT setup correctly.